Tinsley Marshalling Yard, 1970s

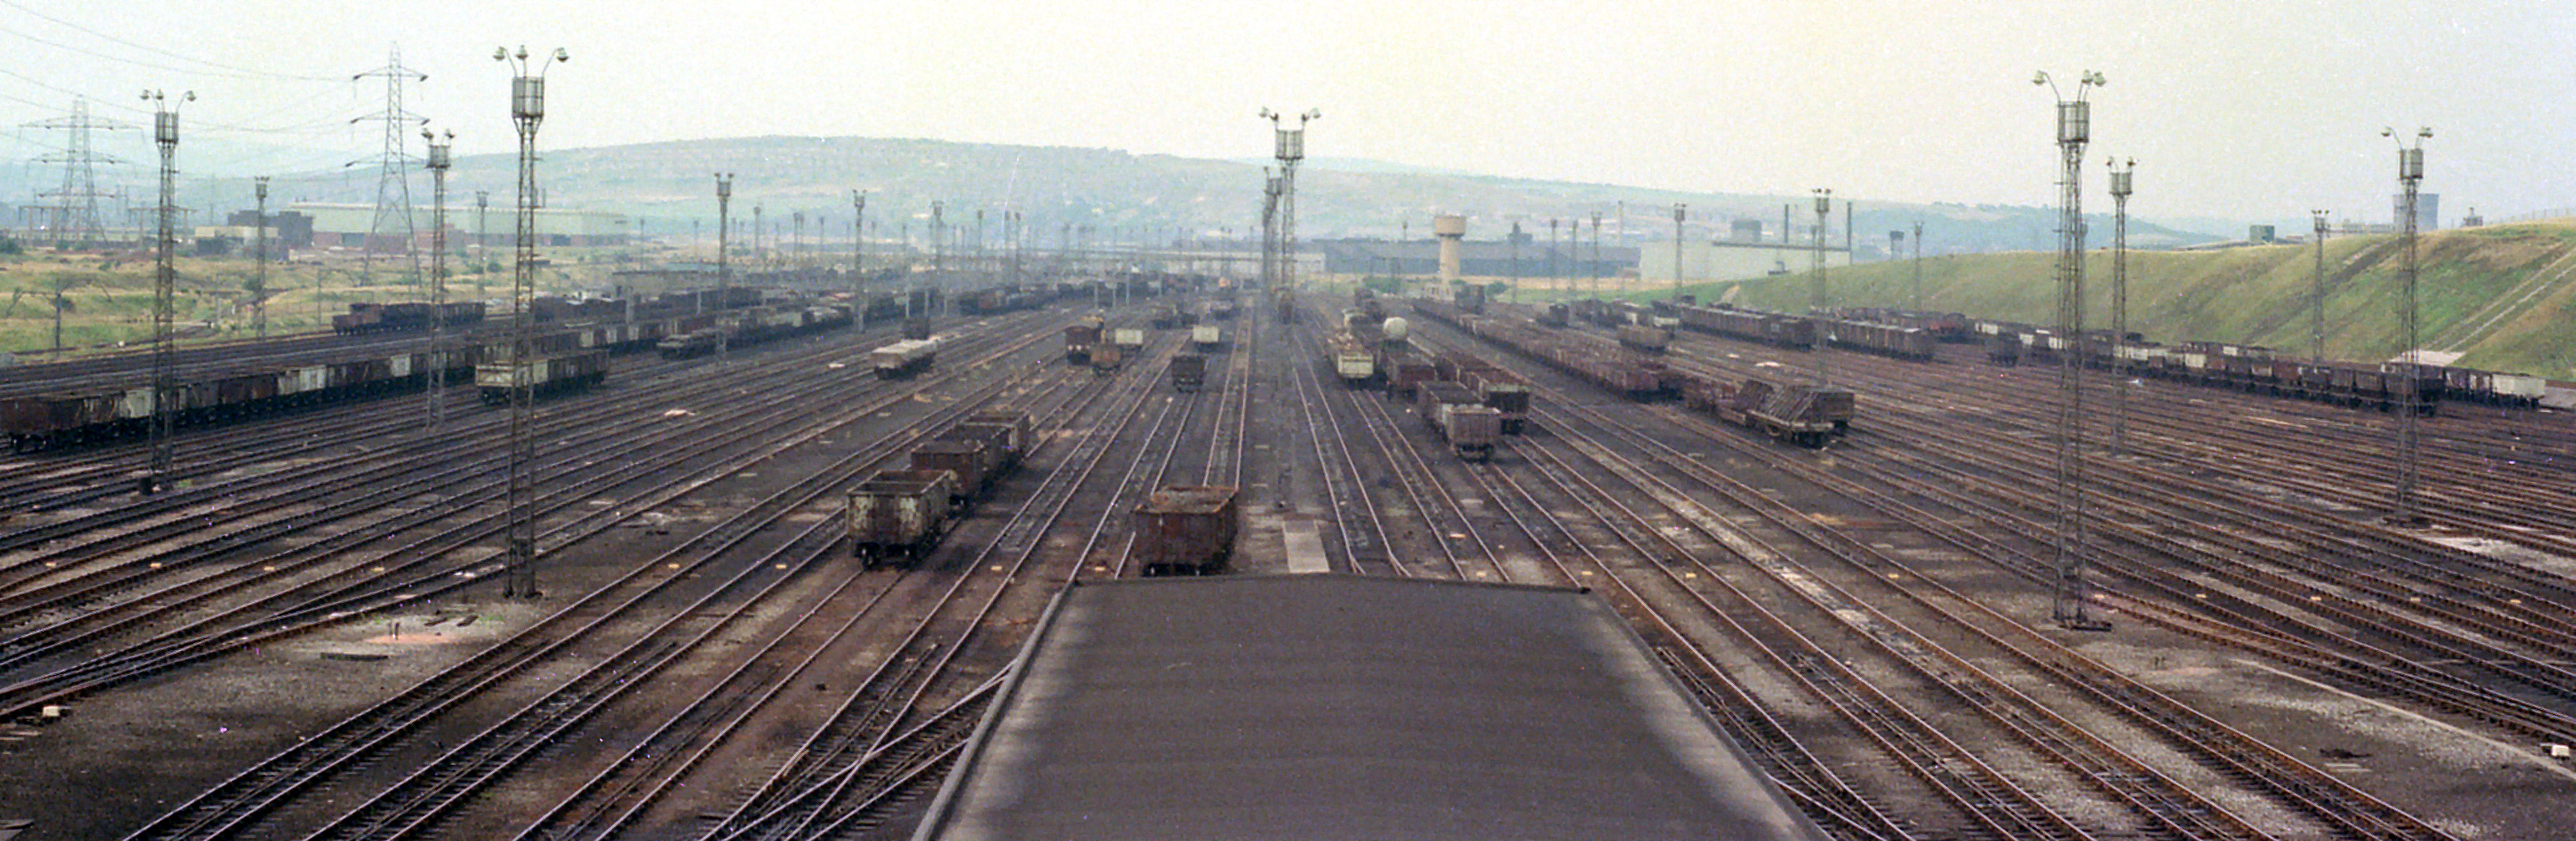
1-of-5) Tinsley Marshalling Yard from the control tower, 6/8/74.
Click here for a high-resolution image.
This photograph is available for use under a Creative Commons Attribution-ShareAlike 4.0 International license. Attribution should include a link to www.nigeltout.com.

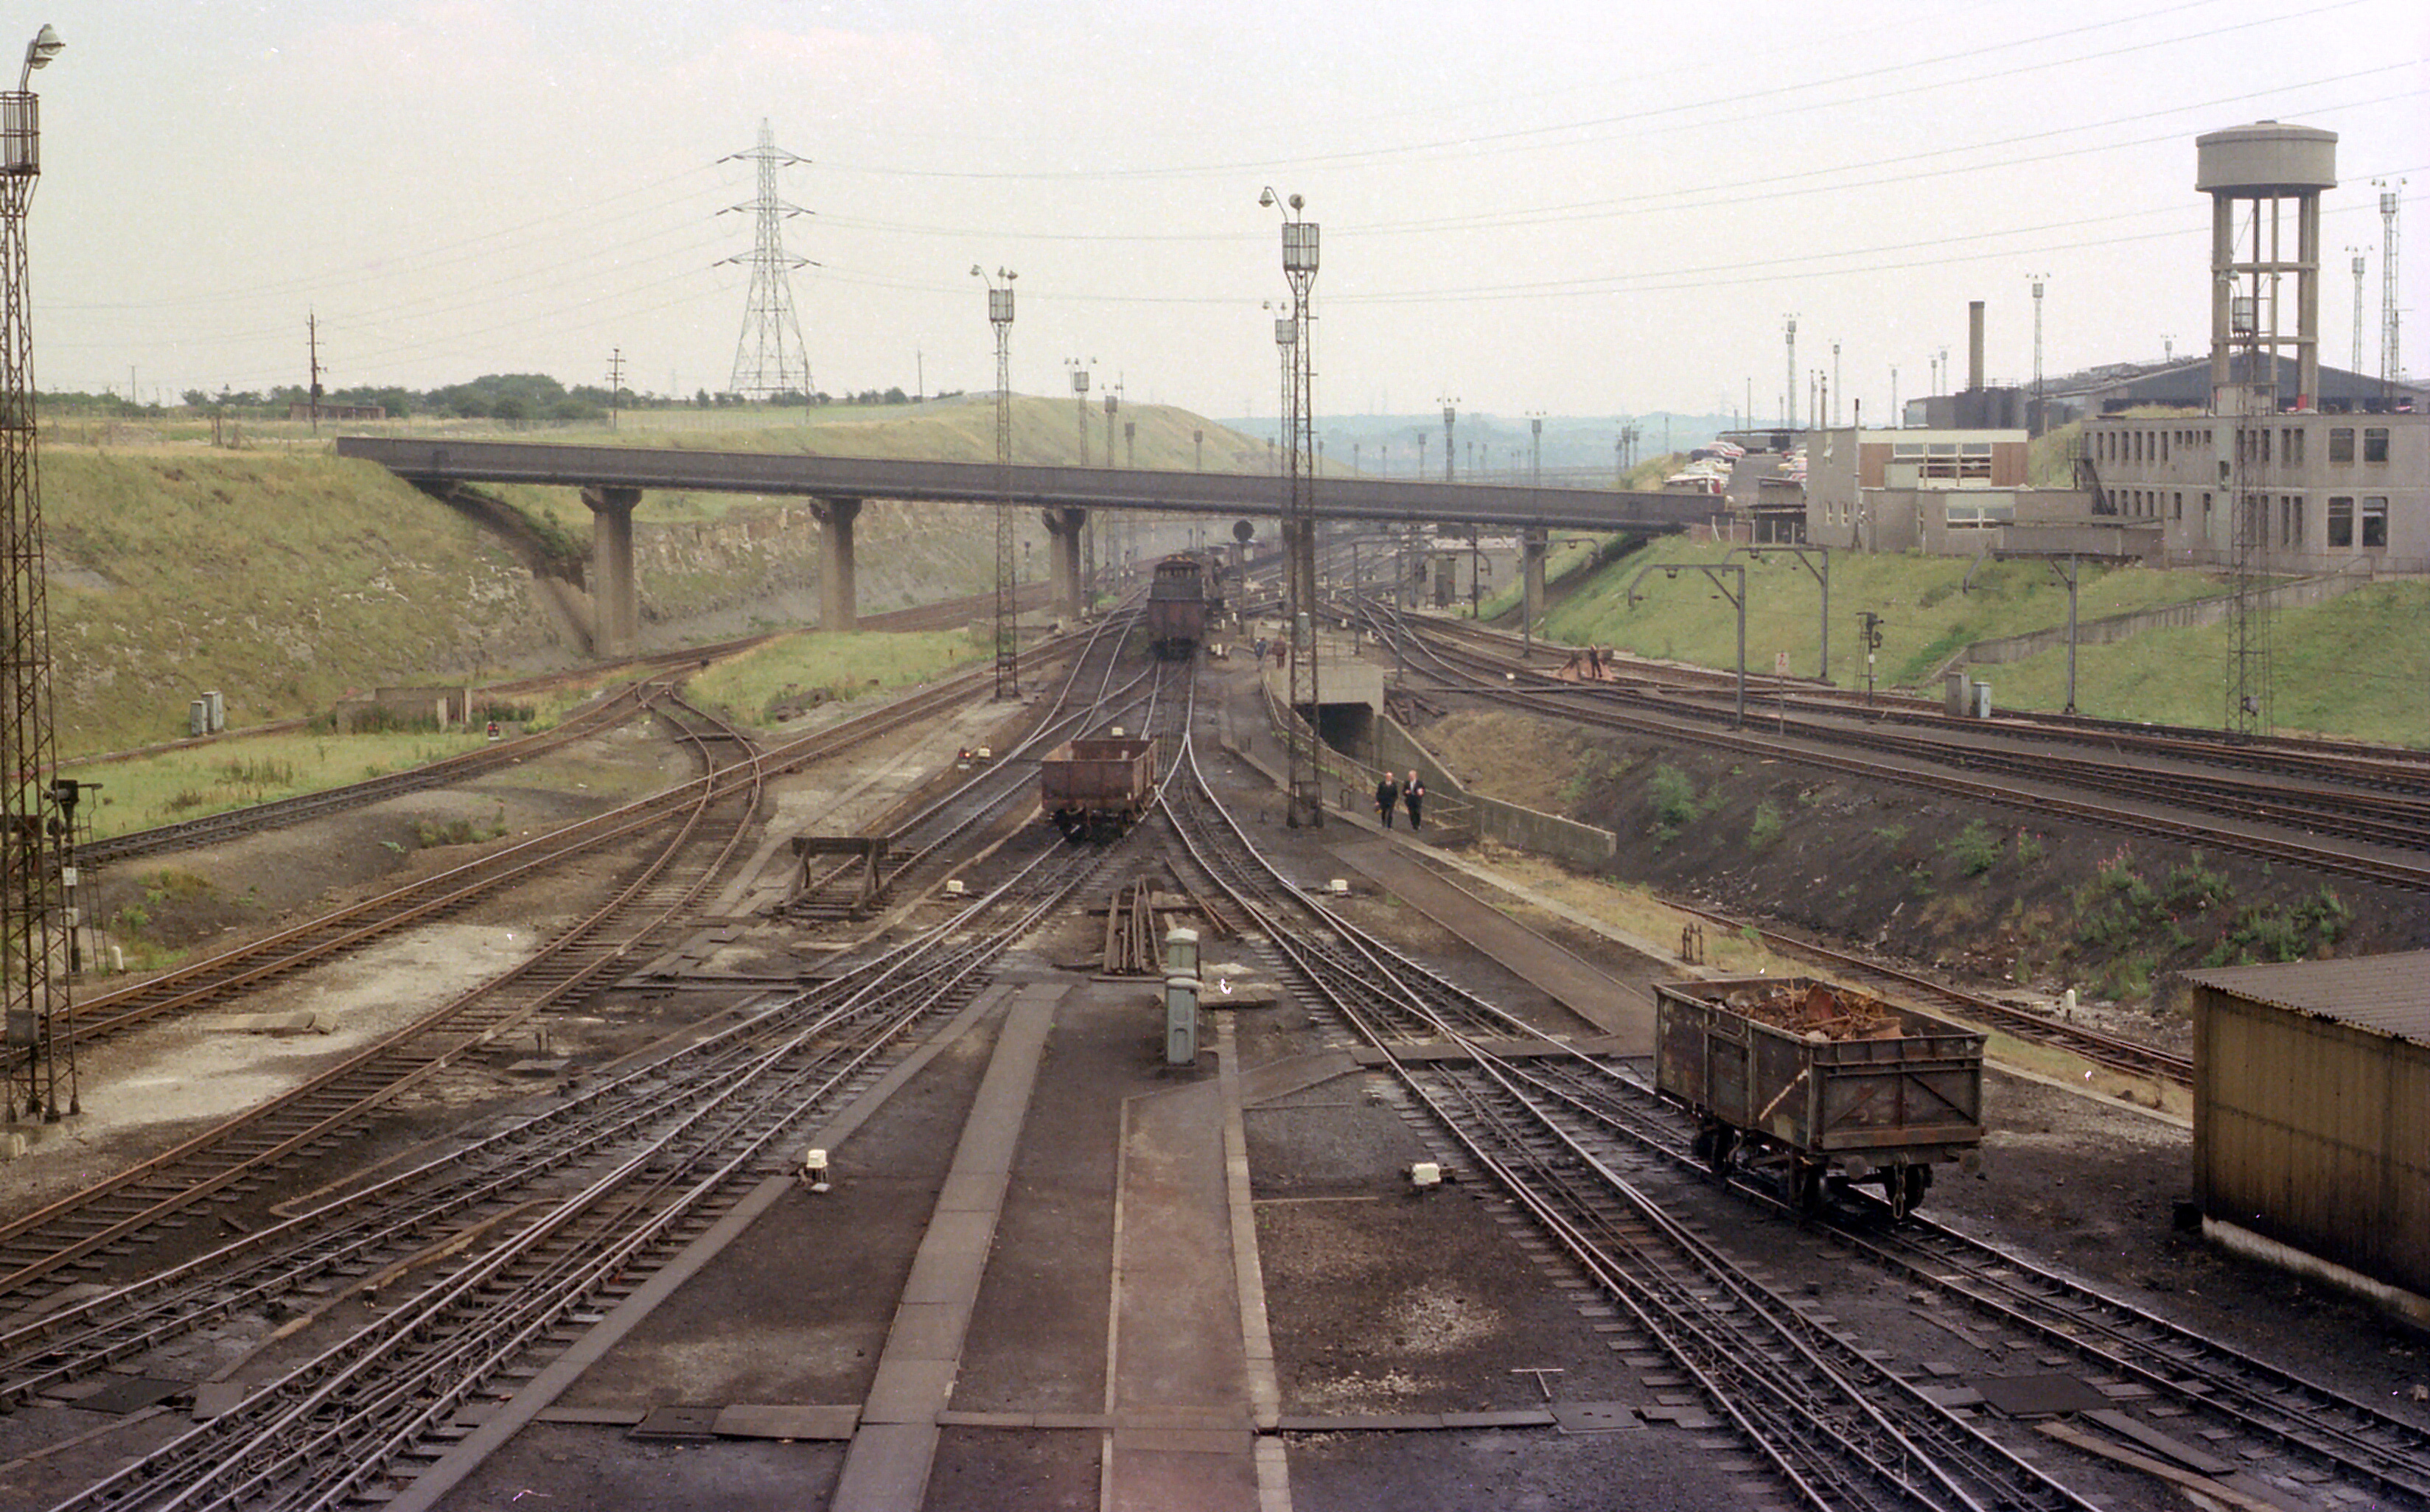
2-of-5) Wagons being sorted after passing over the hump at Tinsley Marshalling Yard, from the control tower, 6/8/74. Tinsley diesel depot is behind the water tower on the right.
Click here for a high-resolution image.
This photograph is available for use under a Creative Commons Attribution-ShareAlike 4.0 International license. Attribution should include a link to www.nigeltout.com.

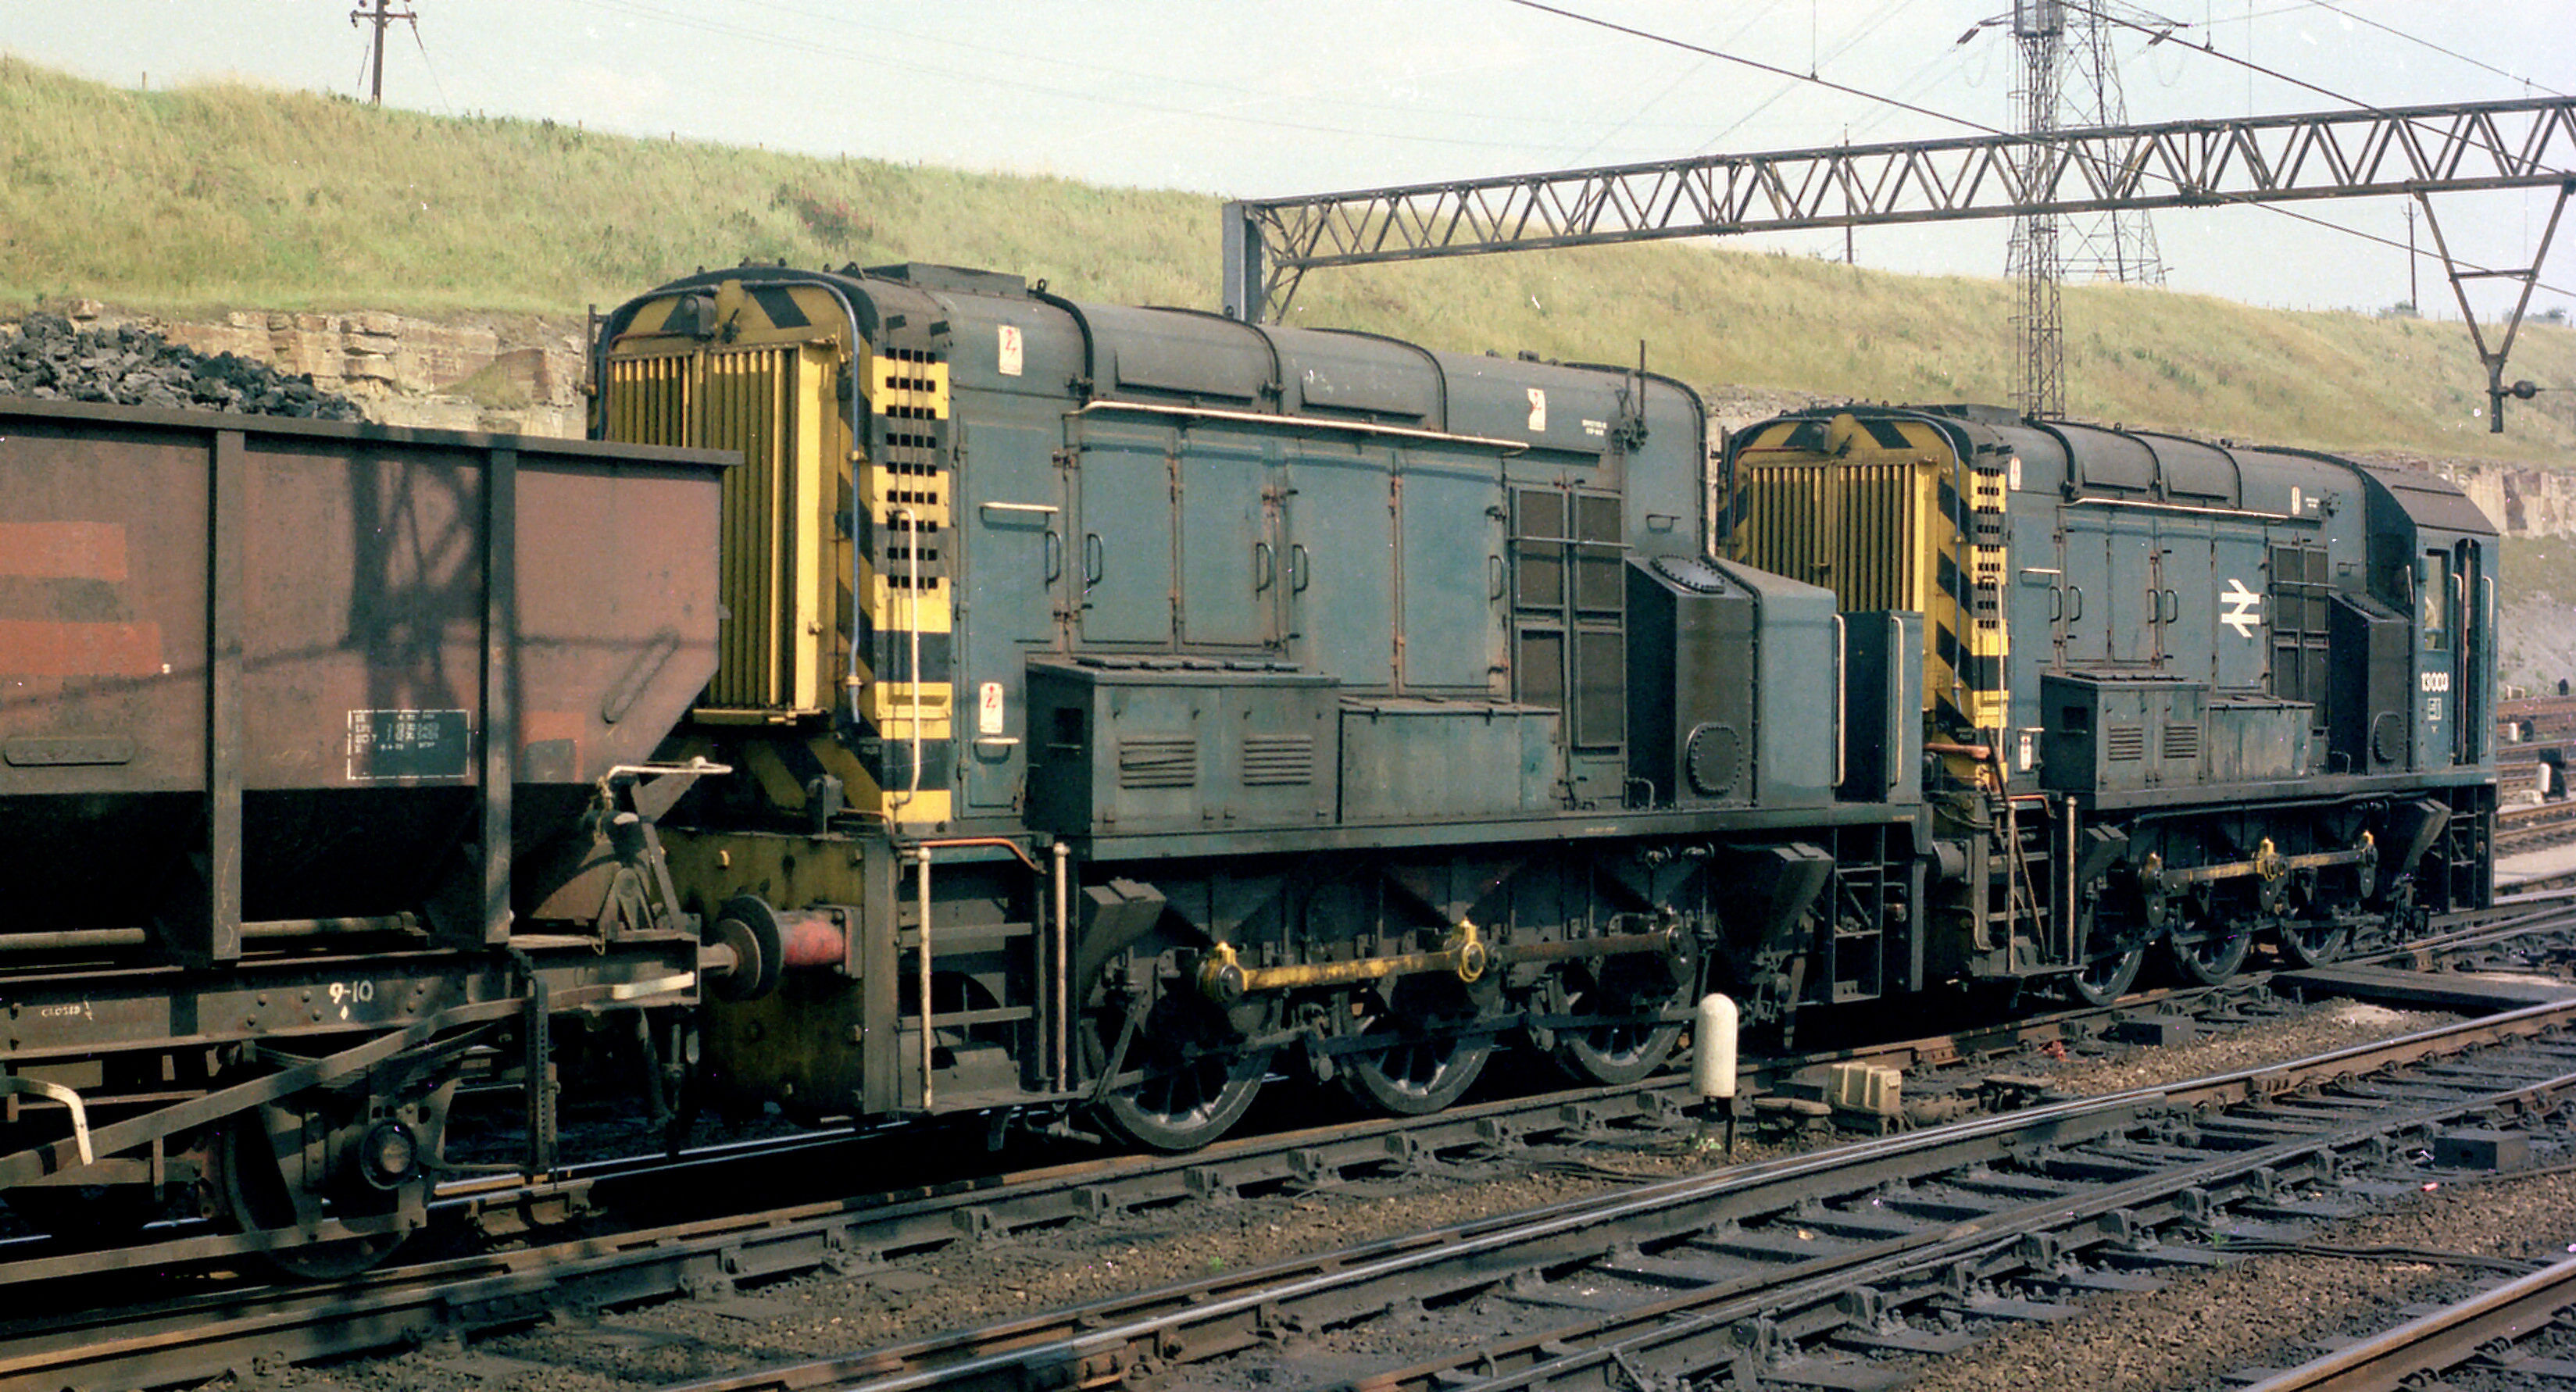
3-of-5) Class 13 no. 13003, permanently coupled Master-Slave locomotives, propelling wagons over the hump at Tinsley Marshalling Yard, 6/8/74.
Click here for a high-resolution image.
This photograph is available for use under a Creative Commons Attribution-ShareAlike 4.0 International license. Attribution should include a link to www.nigeltout.com.

4-of-5) The Slave unit of class 13 no. 13003, permanently coupled Master-Slave locomotives, Tinsley Marshalling Yard, 6/8/74.
Click here for a high-resolution image.
This photograph is available for use under a Creative Commons Attribution-ShareAlike 4.0 International license. Attribution should include a link to www.nigeltout.com.

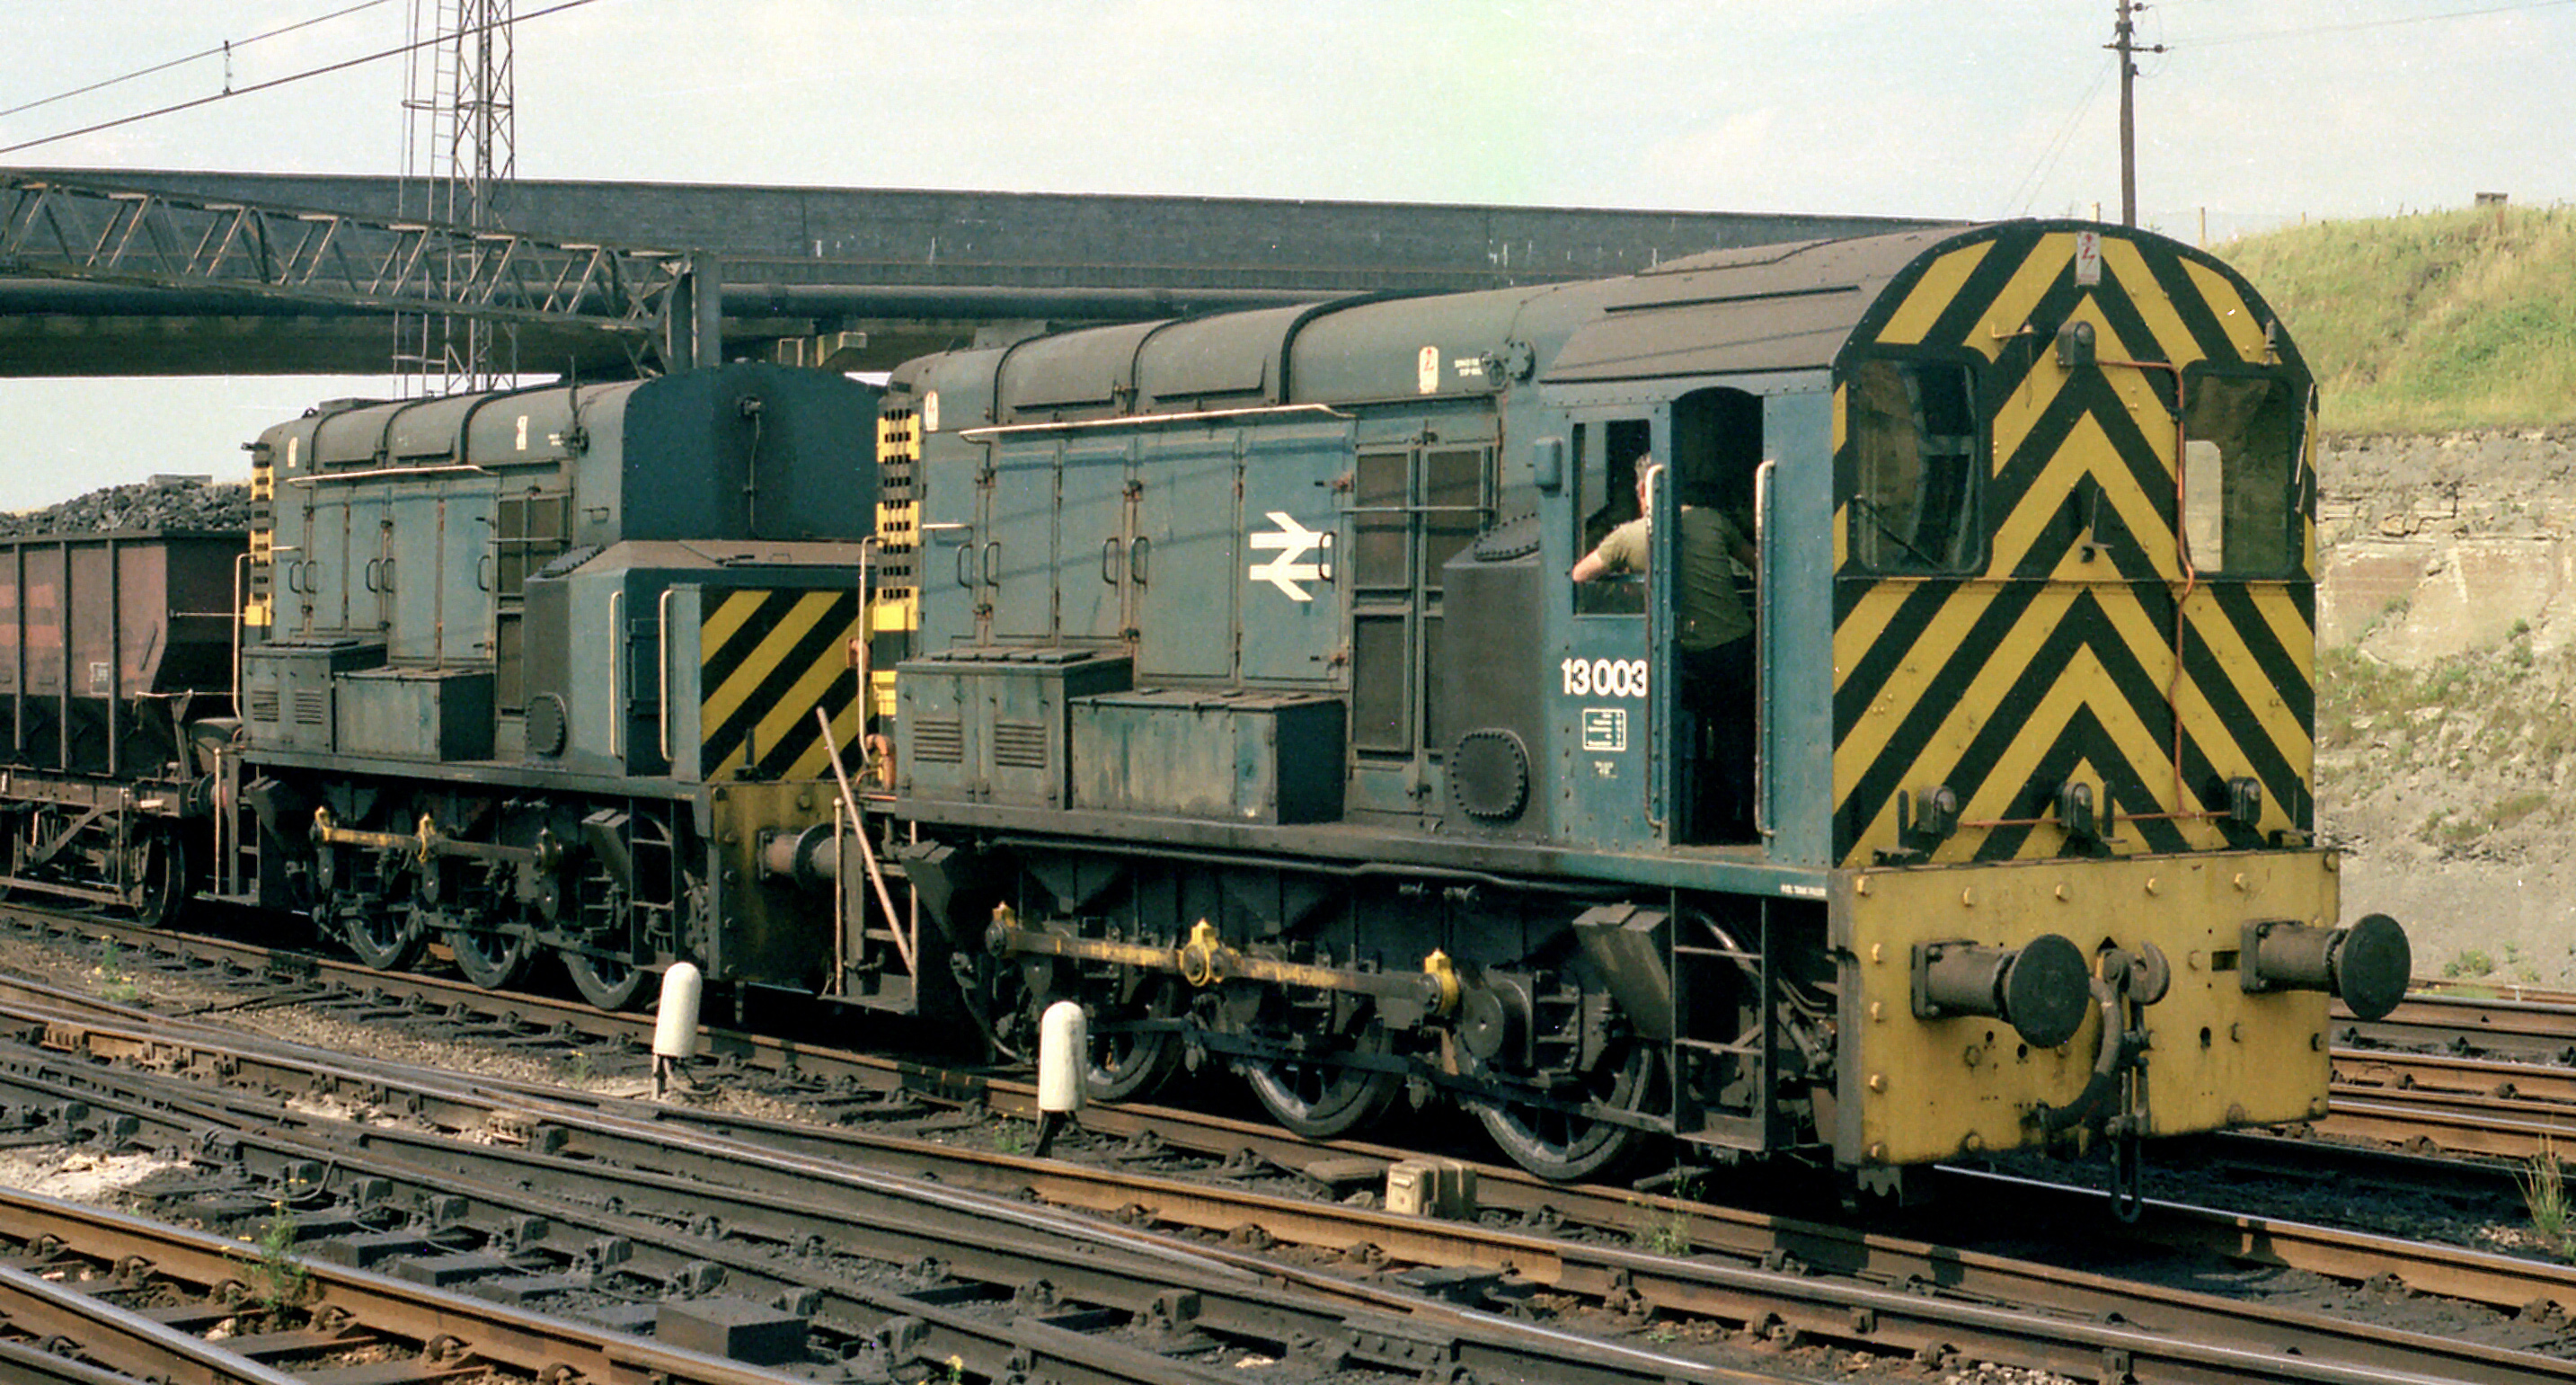
5-of-5) Class 13 no. 13003, permanently coupled Master-Slave locomotives, Tinsley Marshalling Yard, 6/8/74.
Click here for a high-resolution image.
This photograph is available for use under a Creative Commons Attribution-ShareAlike 4.0 International license. Attribution should include a link to www.nigeltout.com.
![]() Many of the photographs in these railway photograph galleries are available for use under a Creative Commons Attribution-ShareAlike 4.0 International license. Attribution should include a link to www.nigeltout.com.
Many of the photographs in these railway photograph galleries are available for use under a Creative Commons Attribution-ShareAlike 4.0 International license. Attribution should include a link to www.nigeltout.com.